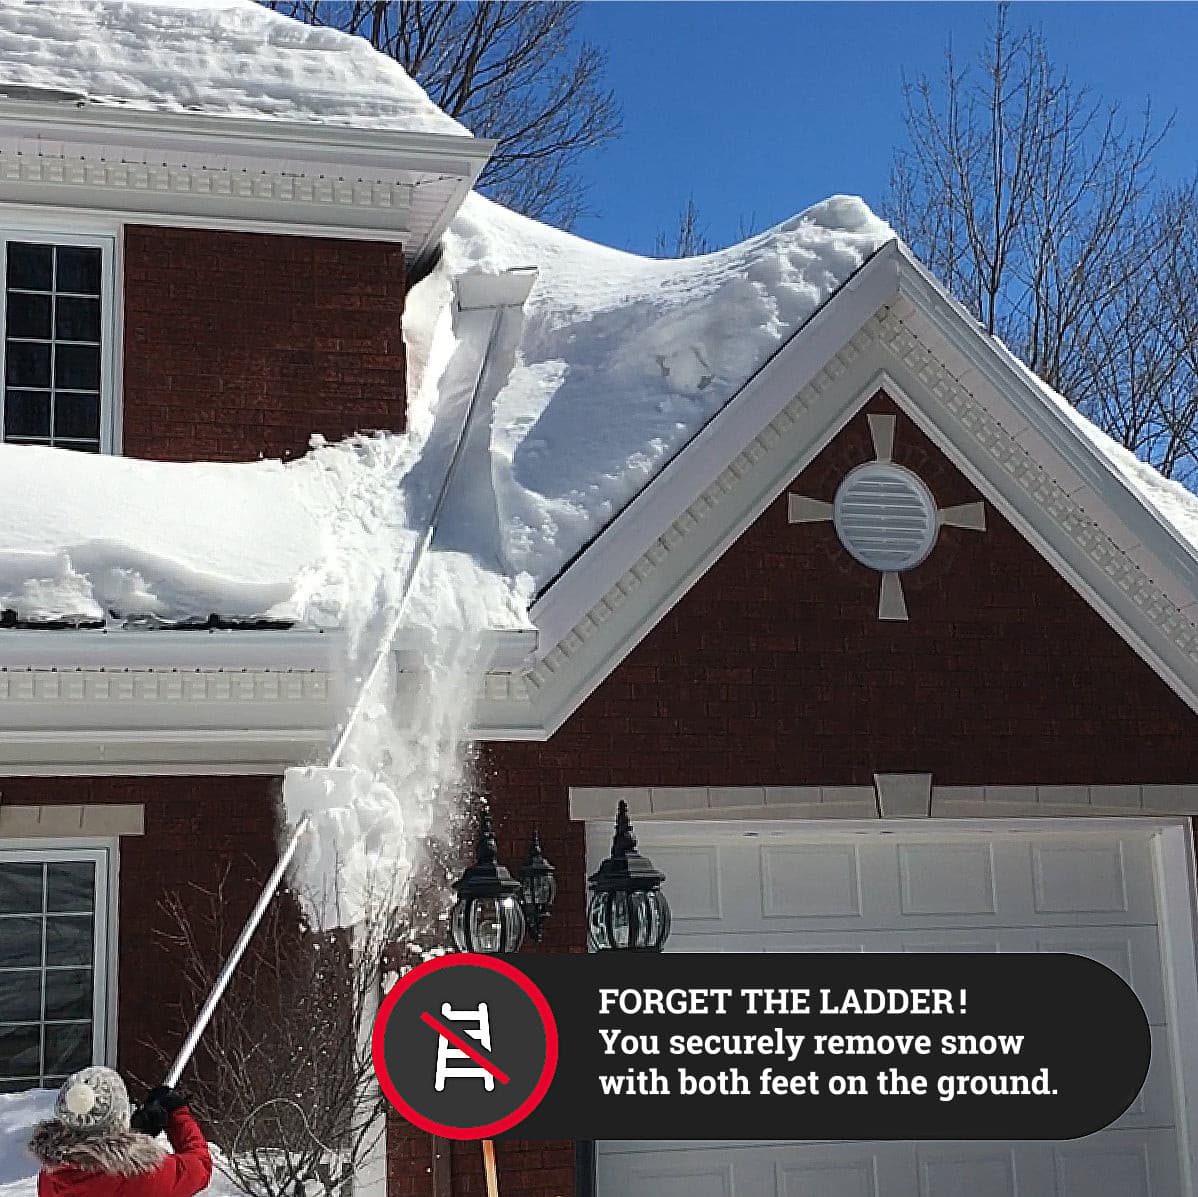
A roof rake should remove snow, not your shingles. Here's how to clear your roof from the ground with a SnowPeeler while protecting both your roof and yourself.
1. Keep a gap between the blade and the roof
SnowPeeler glide pads keep 2 in (6 cm) of clearance between the lower edge of the cutting blade and your roof, so the frame glides over the shingles instead of scraping them. The pads are designed to wear instead of your roof: check them before each season and replace them when they're worn.
2. Metal roof? Adjust the clearance
On a metal or steel roof, the glide pads can be adjusted to a 2¼ in clearance so the blade rides above the ribs.
3. Work in sections, from the bottom up
- Clear the first 2 ft (60 cm) of snow closest to the gutters to give yourself room to work.
- Starting at one end of the house, clear 5 ft at a time with upward strokes, moving sideways along the roof.
- When a 5 ft section is clear, add a pole and repeat until you reach the peak.
Connect only the poles you need: a shorter handle is lighter and easier to control. On a low-slope roof, stand farther from the house so the frame stays parallel to the roof.
4. Remove snow, not ice
The SnowPeeler is designed to remove snow from rooftops, not to chop or break ice. Its efficiency is also reduced in hardened snow. Don't try to break ice with a roof rake.
5. Safety rules
- Never use a roof rake in windy conditions or near overhead power lines.
- Snow can freeze and slide down the pole: hold the handle to the side, never directly over your head.
- Keep stable footing at all times. While you work, move the handle slightly sideways so the snow falls to the ground before reaching you.
- The SnowPeeler is made to be used from the ground. Only use it from the roof while wearing an approved safety harness.
For step-by-step photos, see our how-to guide. To choose your model, read Classic or Premium.
Share:
SnowPeeler Classic or Premium: Which Roof Rake Do You Need?
SnowPeeler Care, Storage and Replacement Parts